Getting Started with Ledgerly
Let’s start applying what we have learned so far by setting up your company in Ledgerly
If you have not downloaded Ledgerly, you can download it from the GitHub releases.
Setup Instance
When you open Ledgerly, you’ll be presented two options: New File and Existing File. If this is the first time you are opening Ledgerly, click on New File.
Now select an appropriate location where you want to store the file and give it a name.
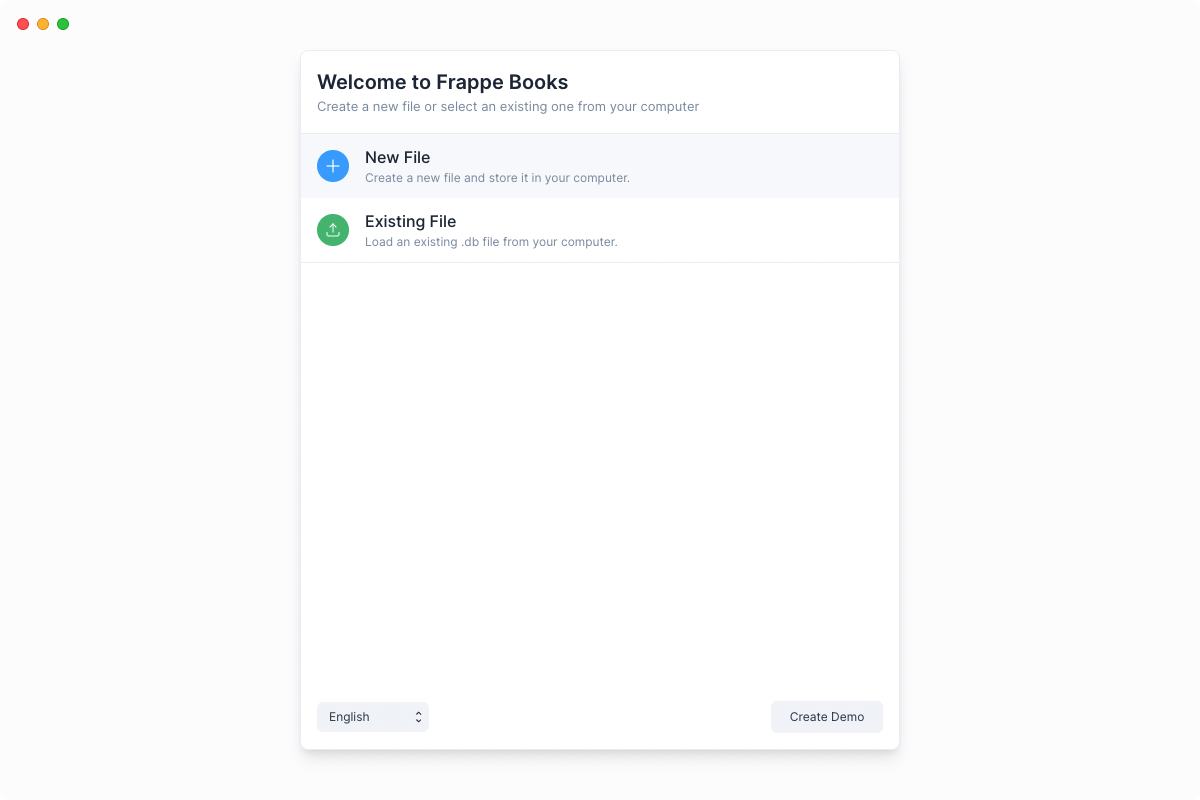
tip File Location
Ledgerly stores all your company data and transactions on a local .db file on
your computer.
You can change the location of this .db file. If you have done so you can find it
again by selecting the Existing File option.
Now, enter your Business Name, Business Email and Country Information. This will help set up the correct Chart of Accounts based on your country.
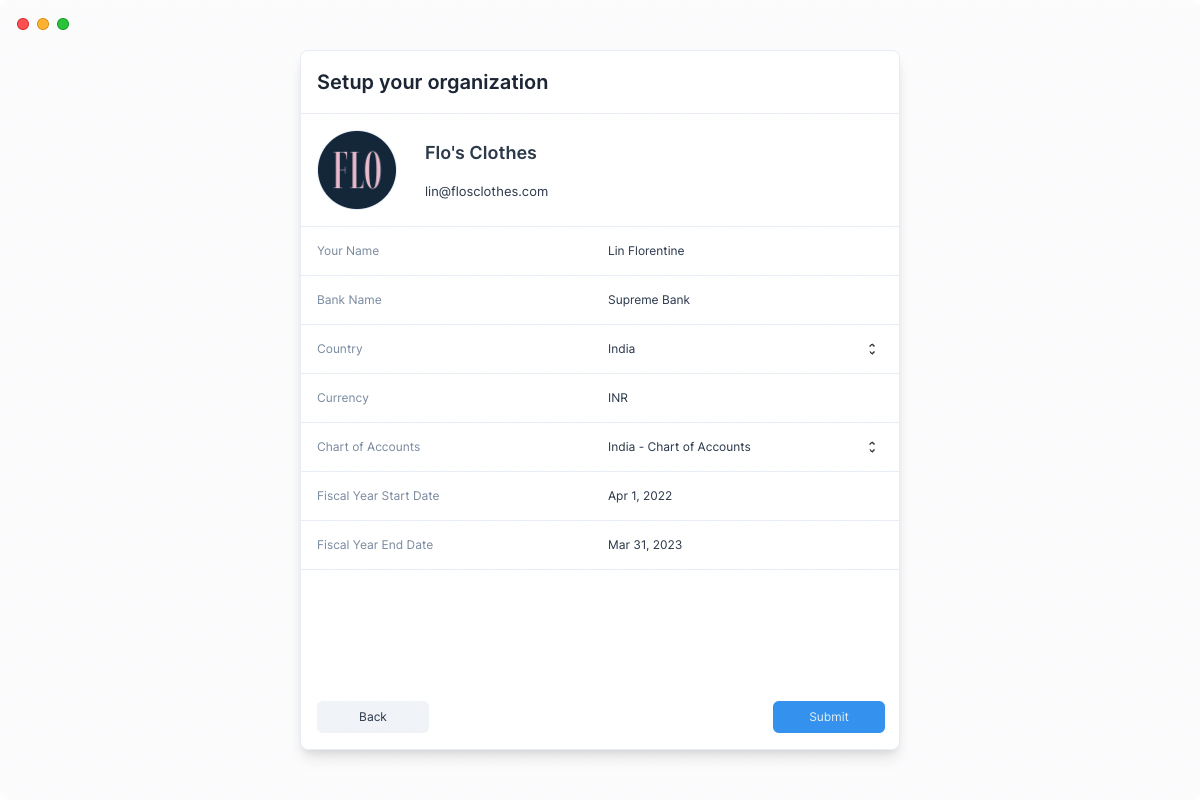
tip Chart of Accounts If you don't find the Chart of Accounts of your country, you can select the Standard Chart of Accounts.
Congratulations! You now have a company set up on Ledgerly.
You can now move onto the next step to create some initial entries before you can start recording your invoices and transactions.